Thứ Năm, 6 tháng 7, 2017

Ultimaker 2 Go Disassembly and Reconstruction

Back in April, our Ultimaker 2 Go stopped extruding.  This is not unusual.  The standard procedure is to take a look at the extruder and maybe unload and reload the filament, checking for errors. Unfortunately, one of our students decided it would be a good idea to take the entire 3d printer apart. The student took apart the entire extruder and, in the process, broke the temperature sensor and the heater cartage.

the broken temperature sensor and the heater cartage
The Broken Temperature Sensor and the Heater Cartage

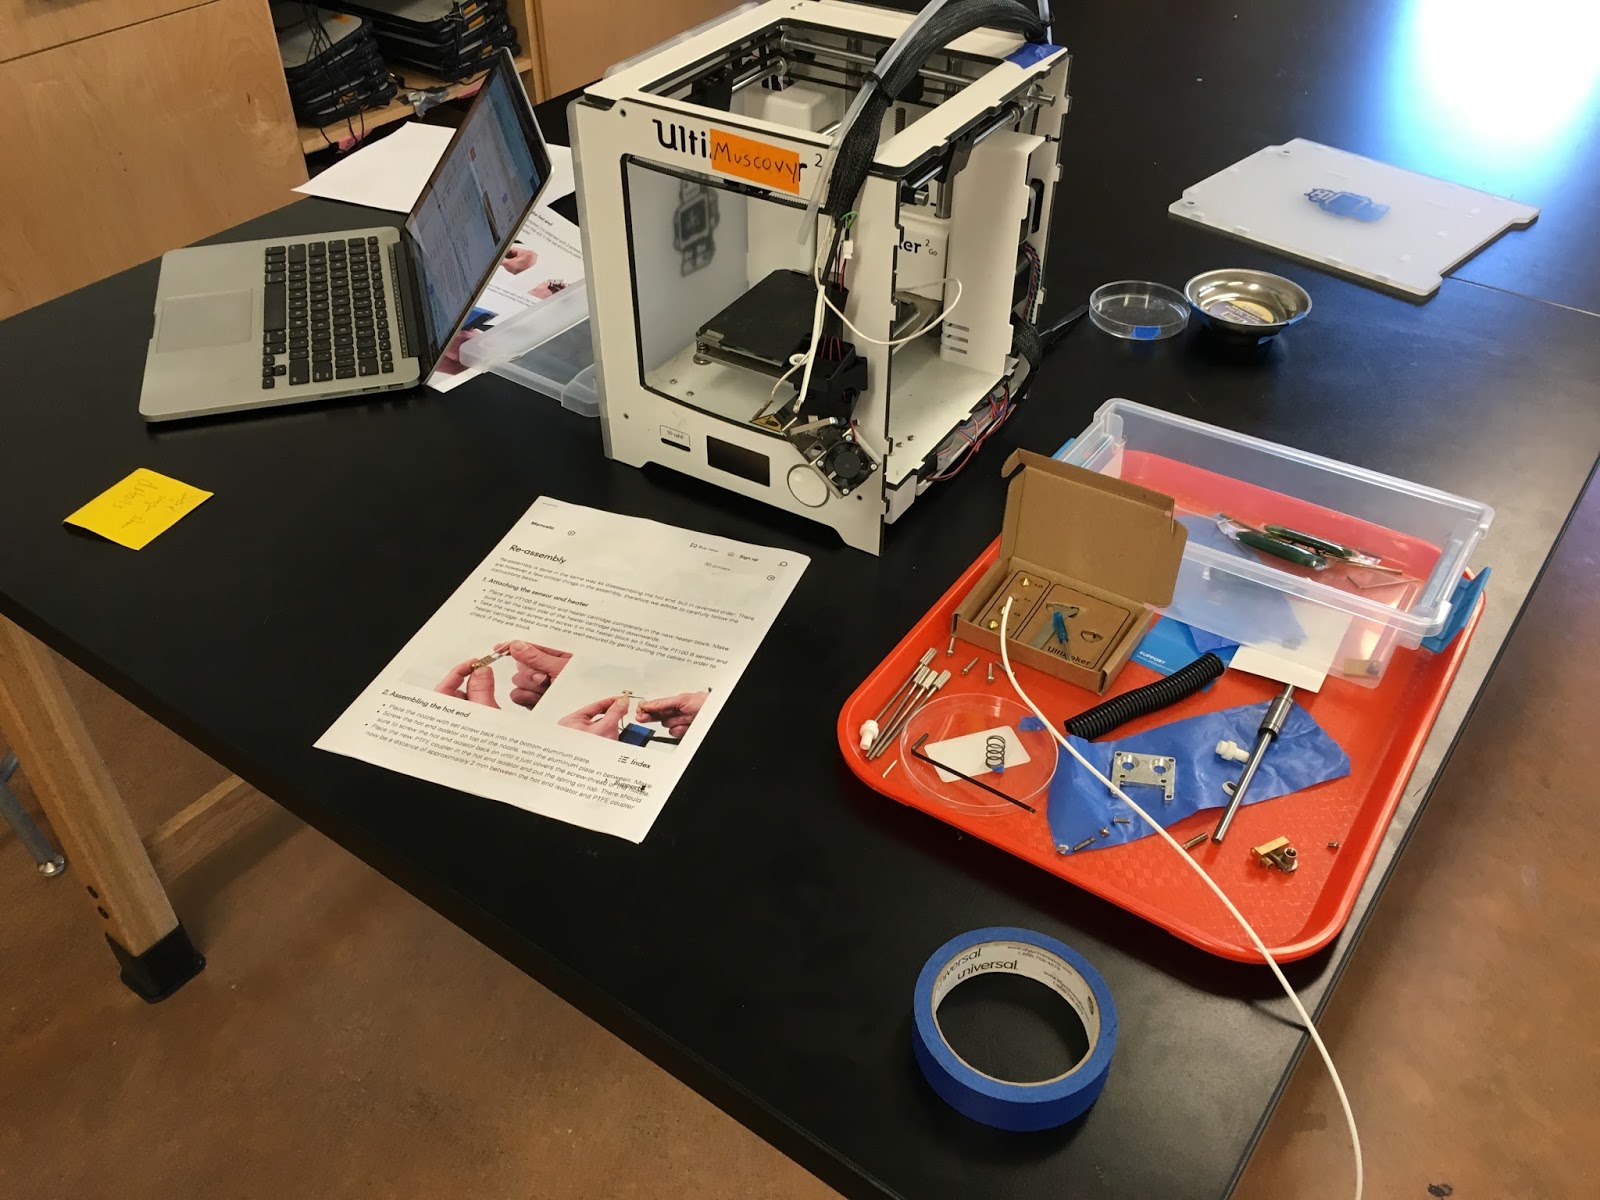
Despite our teacher's constant reminders to document, there was no documentation, except photos that were lost (the photos in this post were taken after the disassembly).  After disassembly, what used to be a 3d printer extruder looked like this: 

disassembled extruder
Disassembled Extruder

So, we were left to reassemble a broken 3D printer with very little documentation and no recollection of "what happened."  The Ultimakers came with an extra "Hot End Pack," which includes a temperature sensor, a nozzle block, and various other extruder related parts.  At first, we thought this would solve the problem. But ends up the pack did not come with a heater cartridge, so we were stuck. The Dynamism site (where we first ordered the printer) sold only a few, more consumable, parts--and not the parts that students might destroy. 

Luckily, Ultimaker support eventually clued us in to the fbrc8 Ultimaker warranty site. This was VERY helpful! We found a heater cartridge and ordered one.  

Back in the classroom, we replaced the broken temperature sensor with the one from the "Hot end pack" and the heater cartridge from the fbrc8 warranty site using this fbrc8 resource: Changing Heater Cartridge And Temp Sensor (2GO).  We had to open the bottom of the Ultimaker to plug the heater cartridge back in. It was good practice in reading the instructions very carefully!


Finally, for reassembly, we followed the Changing Parts In The Print Head steps for disassembly and reassembly, even though most of our parts were already... ahem... disassembled. We also used the instructions: hot end assembly | hot end disassembly

Eventually we reassembled everything and were proud of our efforts when it printed flawlessly once again!


- Reuben (8th grade)


Related Posts:

  • 3D Model Ride-AlongI find it hilarious that the kids put this 3D scan of our Head of School on the printhead of one of our 3D printers. He just rides around all day.… Read More
  • Ou New Cube (Take 3!)Our Cube 3D printer recently started malfunctioning. The printer powered off mid-print, making an impressively loud noise as the build plate crashed b… Read More
  • Building the DropLitLast August, out teacher was introduced to SeeMeCNC at the 3D Printer World Expo in Seattle, WA.  3DPrint.com got the scoop early.  By … Read More
  • Our newest 3D Printing Club - Run by Students!Our BPC Maker Club encourages students to join in the second trimester of 7th grade or later, (1) to keep it to a manageable size and (2) because it c… Read More
  • Don't forget the Cube Tube Any Cube owners out there ever wonder about the reasoning behind the cube tube? It just adds a step to the printing process, right?I would like to say… Read More

0 nhận xét:

Đăng nhận xét